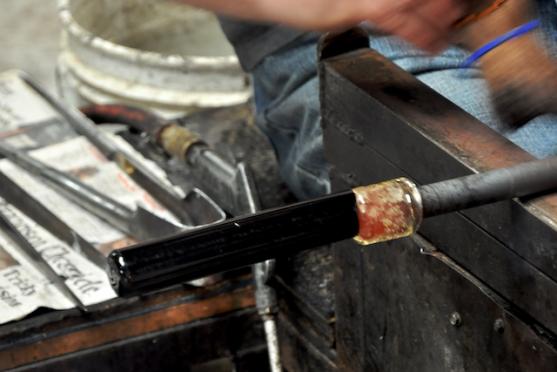
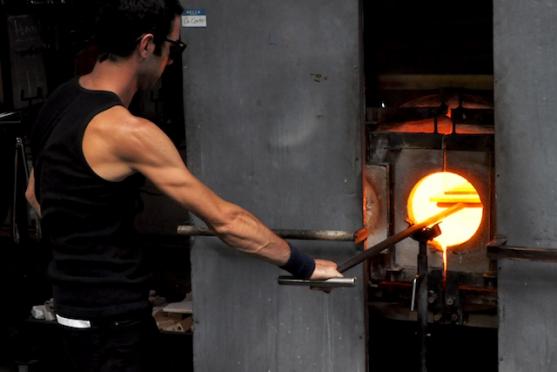
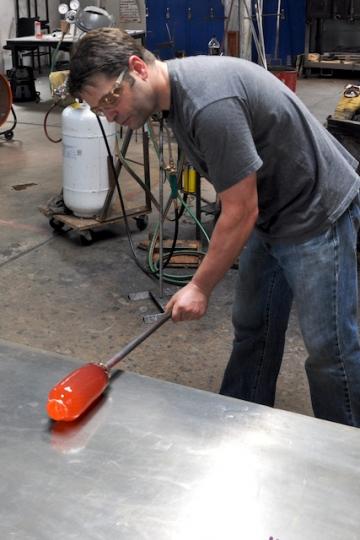
This style of murrine will have a center of transparent color. I begin by attaching a preheated piece of colored glass to a punty rod.
The color is heated and shaped to prepare it for a color overlay--where a second color is stretched over this color.
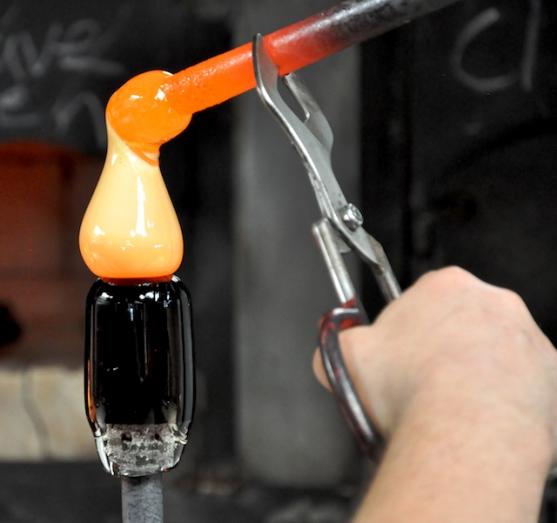
Michael concurrently heats up the overlay color--in this case white glass.
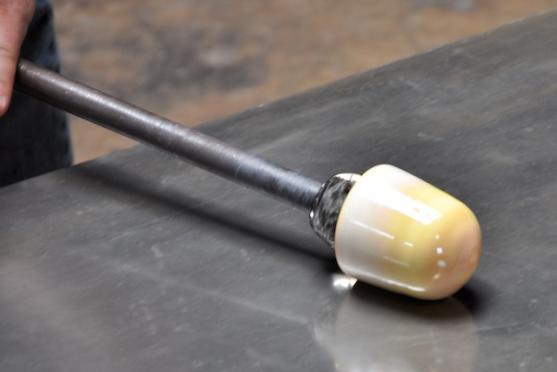
The molten white glass is dropped from above onto the transparent glass and cut off. This is called an 'overlay.'
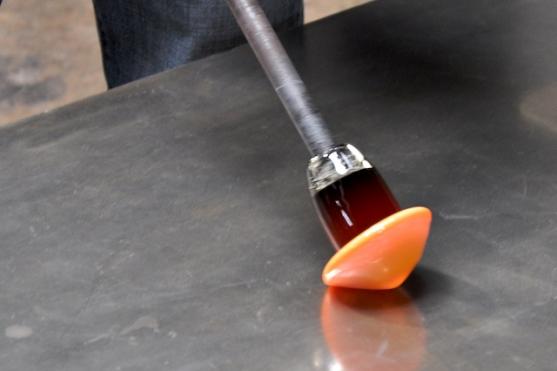
On the marver, the molten white glass is distributed evenly and pushed over the center of transparent glass.
Completed overlay.
Another color is overlaid...
...and forced over the mass of color.
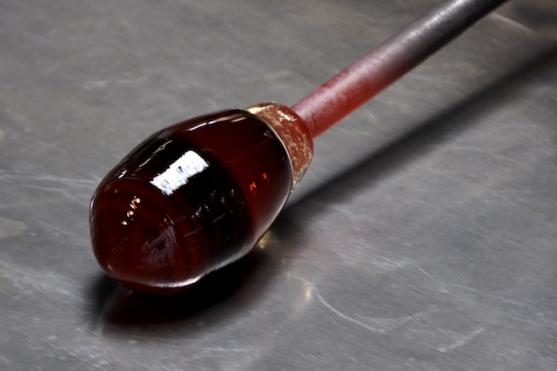
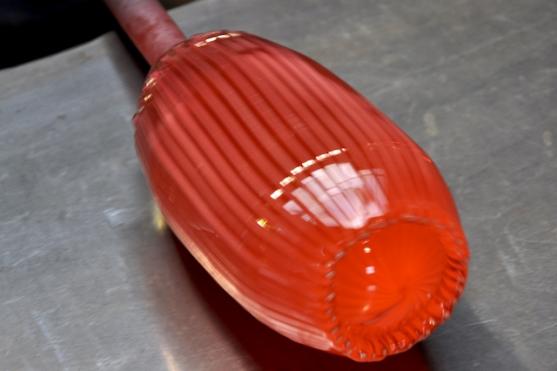
After the second overlay is complete, there are now three layers of color.
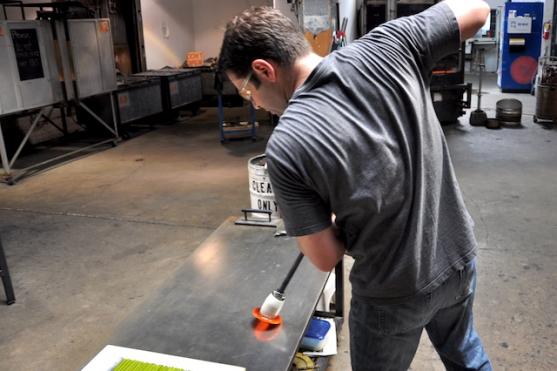
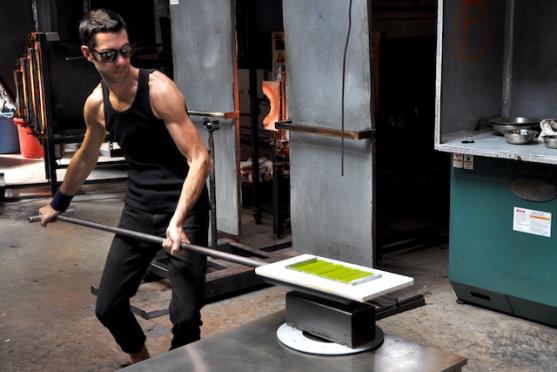
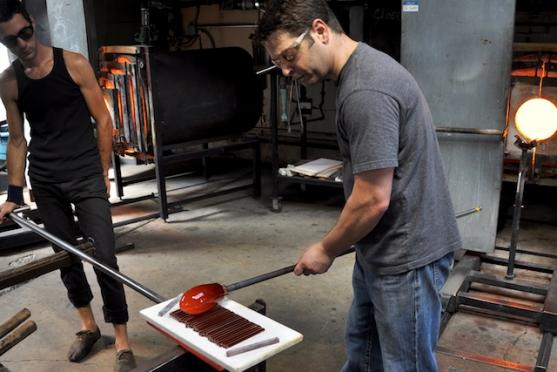
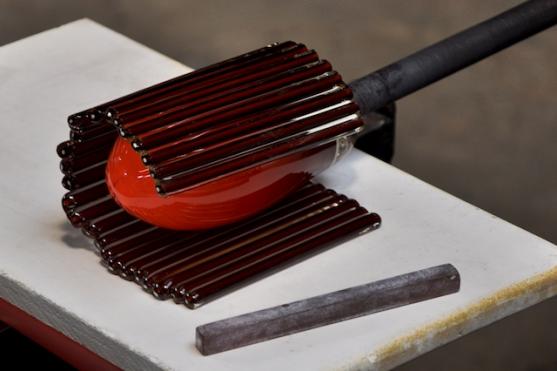
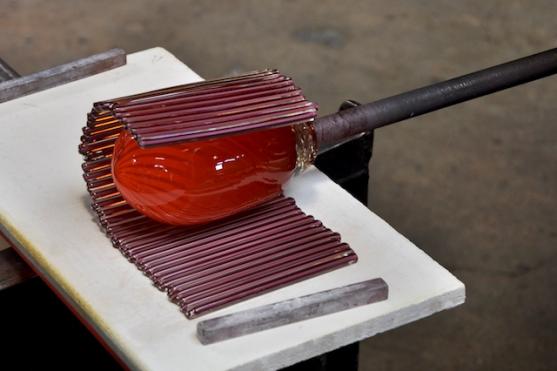
This murrine is designed to have two additional layers of cane. Michael heats a plate of cane for the first layer.
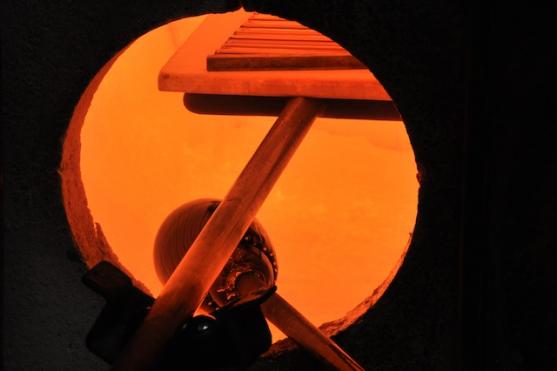
The cane is heated in the glory hole until it is hot enough to tack-fuse together.
When the cane is the correct heat, it is rolled up onto the layered core. Because both the cane and glass on the punty are both soft and hot, they fuse together instantly.
The diameter and shape of the glass and the length of the cane used must be the correct proportion to each other so the cane fits perfectly around the layers of glass.
After reheating, the cane is melted and incorporated into the core of the murrine.
The end is melted together and carefully closed off.
Another layer of cane is heated in the glory hole.
The second layer of cane is rolled up.
The second layer of cane is melted into the murrine.
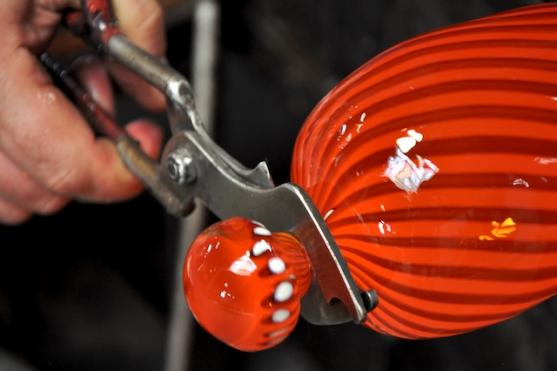
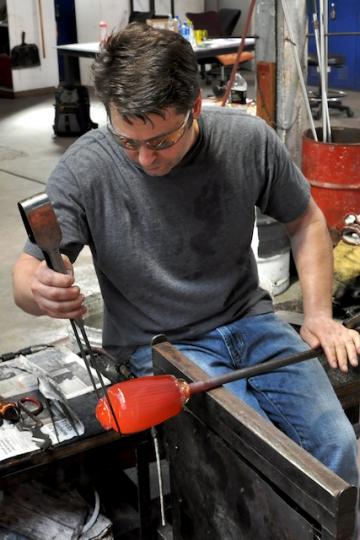
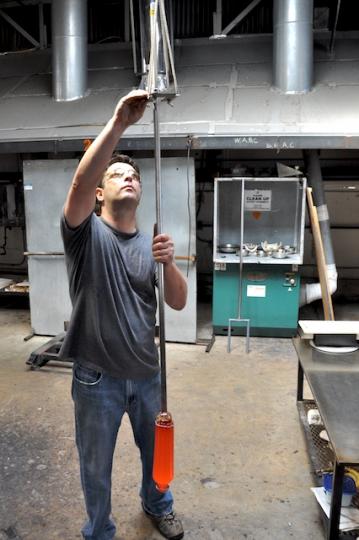
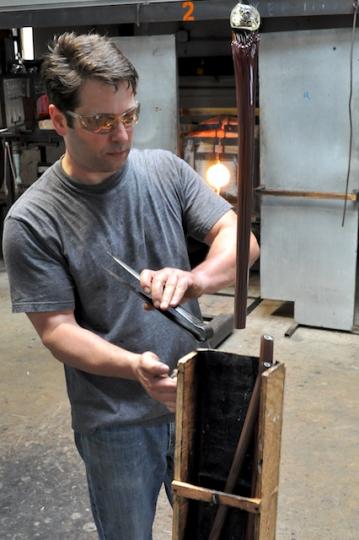
The jacks are used to neck the end of the murrine, creating a knob to pull on when the murrine is eventally stretched.
The murrine is heated and shaped until the glass is the right temperature to stretch.
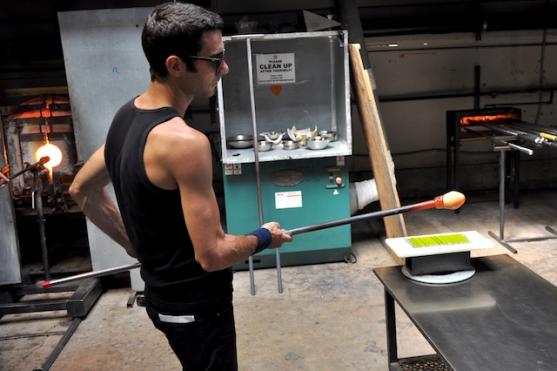
When the glass is the correct shape and temperature the punty is attached to a pulley system.
The pull begins... (there is a short video of this part in my blog here)
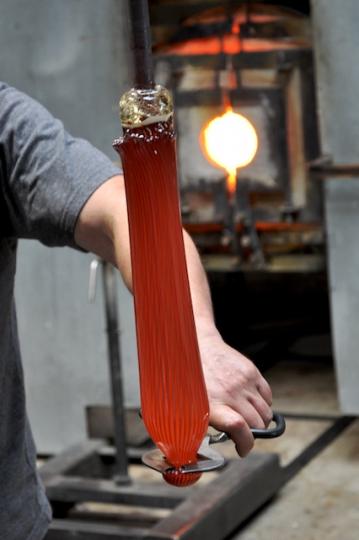
...and the soft glass is stretched to the desired diameter for the murrine. The heat must be exactly right--too cold and it doesn't stretch, too hot and it turns into a pile of spaghetti on the floor.
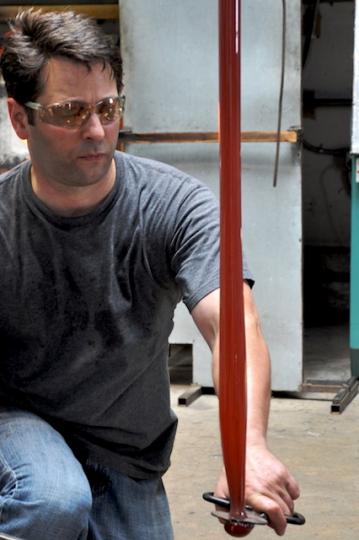
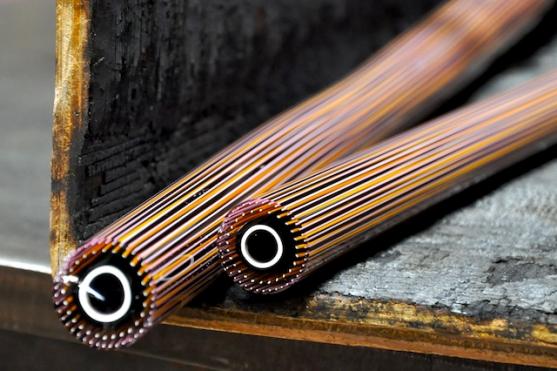
After a few seconds of cooling, the glass stops moving and can be broken off and brought to the annealer for cooling overnight.
The finished murrine just before moving to the kiln. After cooling it will be cut into slices.
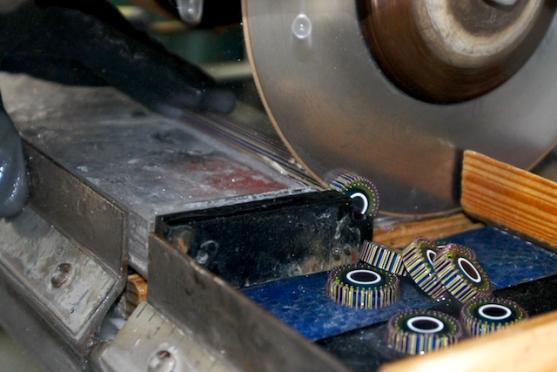
The next day the murrine has cooled to room temperature and can be carefully cut using a diamond blade on a wet saw.